1. first you will want to make sure you have simpe set up: simpe (SimPe_075f_qa.7z); this version doesn't have the pinups lmao. if you get an xml error about the hoods, go here and download it from post #5 and install where it says. if you already have simpe obviously you can use that version!
2. next you want milkshape 1.8.5. it looks like it's no longer actively being supported, so here is info on how to register.
3. then you want all of these plugins (they go in your milkshape folder in program files or wherever you installed it):
weshowe's unimesh plugins
weshowe's autojoint
cat's normal smoother
cat's uv flip
cat's uv data merge cat's mesh mirror
tsrw plugins
we won't use all of them for this tutorial but they are good to have and i don't want to list them again for the next one lol.
4. you also want nvidia dds utilities for texturing via simpe, which is the best way to do it because importing via bodyshop gives you lower quality textures. you can do it 2 ways, via build dxt which i will show you in the video, or my preferred way if i'm going to be editing the texture (example: if i'm doing recolors with color actions), which will be at the end of this post.
5. you will also want these programs (again, we won't use all of them here, but they are handy to have and will be used in future tutorials:
cmar's mesh toolkit
filename tooltipper (post #83 for working link)
compressorizer
bulk rename utility
wardrobe wrangler
outfit organizer
6. last, grab lifa's wso templates because for the next tutorial sometime in february i'm going to go over how to make morphs/ conversions with them.
before you watch the video, please take a look through deedee's post on milkshape for beginners, because it will help you a lot. i try to explain all the things i'm doing but some of it is just second nature, so having this to refer to, and having the base knowledge beforehand, will help a lot.
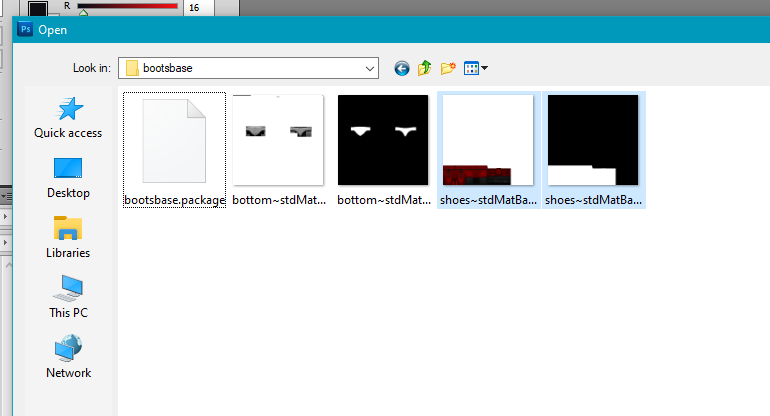
for this tutorial, we're going to be putting these boots (sentate's cordelia boots converted by digitalangels, made pantless by deedee) on this skirt (tristana v2 by io). so go ahead and download those, make a project folder on your desktop or somewhere easy to find so your project is neat, put them in there, then load up simpe, open milkshape, your photo editing program, and once simpe is open you can load bodyshop and follow along while that loads.
i apologize for my voice, it's too cold for me right now, i'm congested and scratchy, and nothing is more humbling than hearing yourself recorded. i've also never recorded anything like this before, so a lot of ummmms and awkwardness haha. also i curse once or twice because i have a dirty mouth and let a few slip. also yes i am using a super old version of photoshop, i don't like to update things unless i have to because i'm used to this version LOL, also i'm not paying a subscription for something you used to be able to pay once for so my ancient version stays.
if you need to recategorize something after, the outfit organizer i linked is what you want. the download page for that is really good at explaining how to use it, so i'm not going to reinvent the wheel with that.
but here's a quick tutorial on how to make your dds in photoshop like i was talking about (your version is probably newer than mine and may look different):
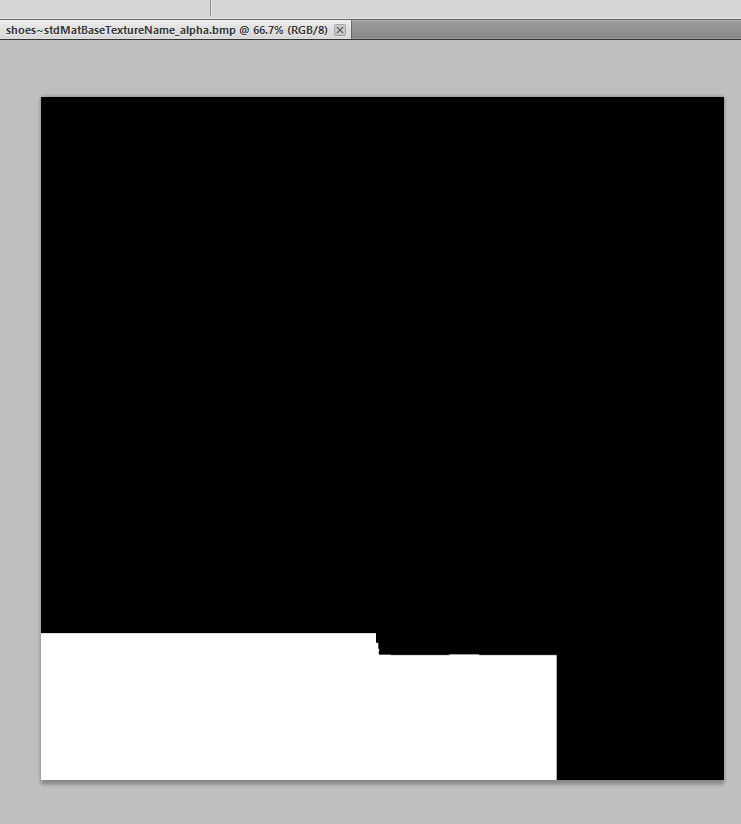
1. the best way to get the full texture of something is to export the textures in bodyshop, and then go to the projects folder in your sims 2 documents folder (where you would normally edit if texturing via bodyshop). i open the alpha and the texture of the group that i want.
2. then i'm going to select all on the alpha, and copy.
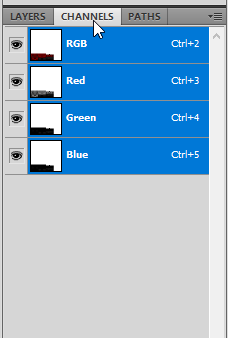
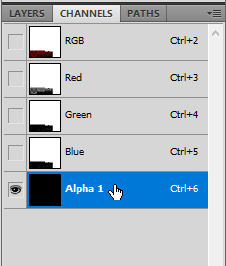
4. at the bottom of channels, i'm going to select create new channel, and it's going to create an alpha channel.
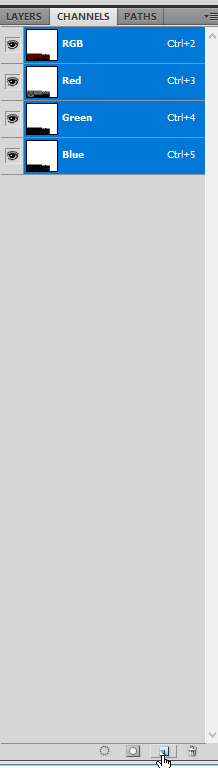
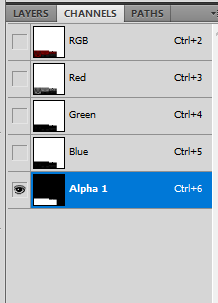
5. i'm going to make sure the alpha channel is selected, then i'm going to paste the alpha that i copied from the alpha image into the alpha channel that i created on the texture image.
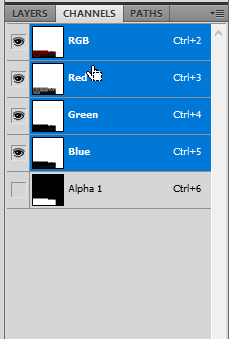
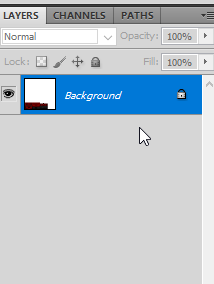
6. after that, i'm going to select the rgb channel and go back into layers so i can do whatever i want to the texture and the only parts that will show up when i save it are the white parts of the alpha, just like when you import via bodyshop.
7. at this point, i usually save this as my psd if it's my base image that i'm going to run color actions over. that way i can do the following steps for each recolor, instead of editing and recompressing a .dds (each time you save a .dds, you are compressing it, so if possible, you want to export your textures from something that hasn't been reimported too many times because the game and simpe are compressing the files too if you import via bodyshop/ build dxt. example: if i wanted to edit a dress that had been shoeswapped, the best thing to do would get the textures from the original dress. if the textures don't look degraded, you don't have to go through all that effort, but for darker textures that have a lot of funkiness, it can help).
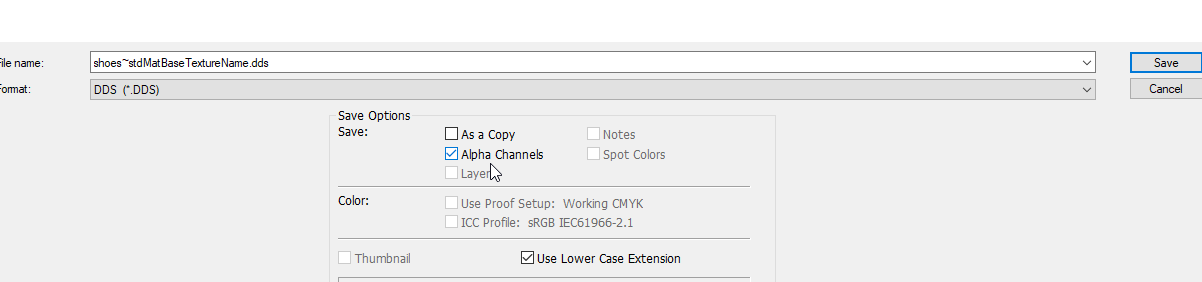
8. once i'm ready to save a recolor as a dds, i go to file / save as or use the keyboard shortcut, and select dds as my file format. make sure alpha channels is checked, or you will lose your alpha info and have to paste it in again.
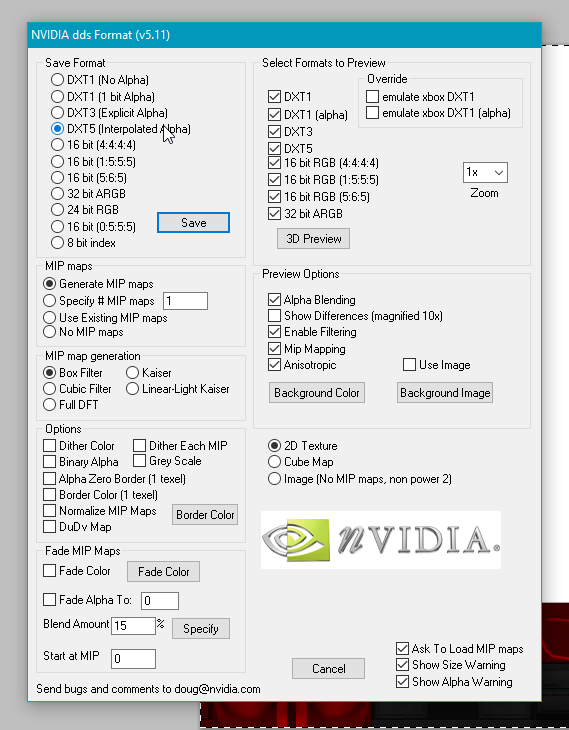
9. then something like this will pop up (this also requires the dds utilities i linked), and you will select dxt5 and save. i don't change any of the other settings. you can do any recolors (objects too for example) this way. then back in simpe, you will just click import dds instead of build dxt (because you've already "built" it in photoshop). i prefer this because it's less clicking than build dxt and goes faster lol. and either way is better than bodyshop, because you have control over the way your image is imported.
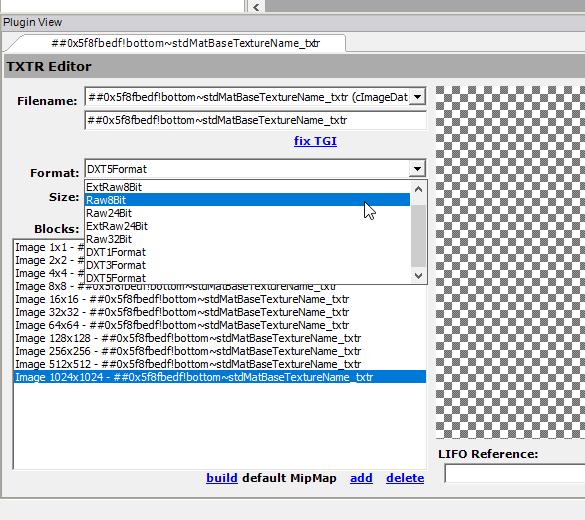
if your mesh has a normal map (this is the grey texture called a bump map in ts2 tutorials and the texture file has the word normal in the name in simpe), make sure in plugin view in simpe, you change the type to raw8bit after importing it, and click commit. otherwise, it's going to make your whole thing look wrong.
i know skell's tutorial on normal maps says to just delete them, but i leave them if there already is one and i didn't edit the texture. if you did edit the texture (example: you alpha edited the shirt to change the neckline or something like that) you need to make sure the normal map reflects those changes too, because otherwise it's going to put shadows/ 3d effects where they don't belong on your mesh. if you just want to delete them, skell's tutorial tells you how (it's easy). also, make sure you put the edited normal map in your base recolor after you edited it and linked it to your mesh, before you load back up bodyshop to do your recolors. that way, when you're recoloring the one mesh, the fixed normal map is already in it, and you don't have to import it again (bodyshop can import those fine lol). if you're going to delete it, also do it before you reload up bodyshop to recolor it, because the recolors won't have a normal map and you don't have to do the deletion process again.